
Scones are just such a wonderful indulgence...perfect with a cup of coffee or tea, or even with a cup of milk.
These Cranberry Orange Scones are such a classic, but have a great zing from the orange rind. An added "plus", they are nice and light...not too dense like store bought scones.
Preheat the oven to 400°F. By the time your oven is ready, your scones should be in the shaping stage.

I grab my Kitchenaid mixer and use the paddle attachment to make this super simple dough. Start with 2 cups of all-purpose flour...

Add 1 Tbsp. baking powder...

And 1/4 tsp. baking soda...

Give it a quick stir (on LOW) just to get things mixed nicely...

Then 1 tsp. of sea salt...

We need a little sugar, so add 1/3 cup of granulated sugar. Give it another quick little stir to get all of that sugar incorporated.

Then take a small grater or zester and a medium sized orange...and start grating that wonderful skin releasing the orange's oils. Be careful not to zest the pith (white) of the orange though...we don't want that in our mix.

Give it a quick stir just to get the orange zest distributed through the flour mixture.

Time to turn the attention to the butter...COLD butter. Start by slicing 1/4" pieces of butter (or breaking them off)...

Then slice again into cubes. This will help it while mixing...cold cubes are better than cold slices.

Next, the cold cubes of butter go into the mixing bowl.

Mix on the lowest speed setting until pea sized balls begin to form. (about 4-6 minutes)

In a small mixing bowl add one egg....

Give that egg a little beating...

Measure out 3/4 cup of heavy whipping cream and add it to the egg.

Mix the egg and cream together.

Turn the mixer on the lowest speed setting, then add the egg & cream mixture to the dry ingredient mixture...

Make sure to do it on low speed so that the kitchen doesn't get a dusting.

Mix just until incorporated. The dough should be slightly sticky.

Then we just plop our dough out onto a lightly floured surface.

I like cutting my dough in half...then either using it to make half a batch of another type of scone (like The Keys' Key Lime Scones or Scrumptious Citrus Chocolate Chip Scones, which is what I'm doing this time)

or wrapping it in saran wrap (and then in a freezer bag) and storing it for later use.


Then toss them in a little bit of flour, (1 Tablespoon to start) just enough to coat them. I like to use a strainer to just sift off the excess flour.

Pour the cranberries onto the ball of dough...

Quickly work the cranberries into the dough. Then roll out the dough (with a lightly floured rolling pin) or press the dough (with your hands) into 3/4"-1" thick slab.

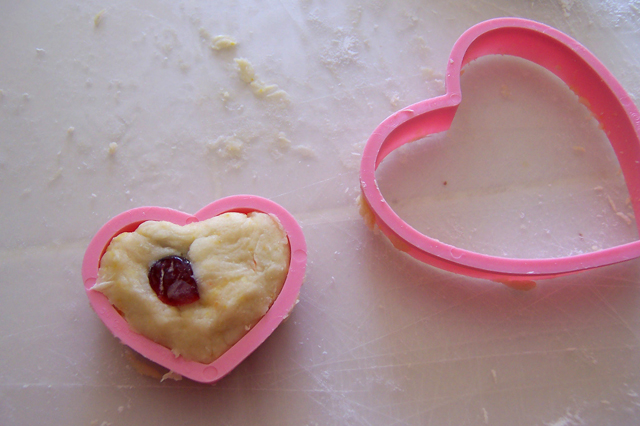
Use a cookie or biscuit cutter to form the scones. Lightly flour the cutter to make sure it releases the dough easily.


Place the scones onto a baking sheet lines with parchment paper or a silpat. I love my silpat.

Next step, take an egg and a tablespoon of water and mix them to make an egg bath.

Then take that egg bath and with pastry brush…

Apply it to the top of each scone.

The last step before putting them into an oven...sprinkle the top of each scone with sugar (granulated or raw).

Then into the preheated oven (400°F) for 15-20 minutes. (time varies by size & thickness, these took 16 minutes)

Remove the scones from the oven once they are golden brown and firm to the touch.

Move the scones to a cooling rack and allow them to cool for 10-15 minutes.

While cooling, take half of the orange that was used for zesting and juice it.
Oh yeah, we're going to make an orange glaze!

Be sure to strain out any seeds and pulp...they make the glaze not so pretty.

Measure 4 Tablespoons of orange juice and add 2 1/2 cups confectioner's sugar (powdered sugar) to the orange juice.

Then I start by using a rubber spatula or spoon to mix the sugar into the juice...followed by a whisking to get all of the little balls of sugar broken up and incorporated.

And when it's done, there is a wonderful glaze that is ready to drizzle over the scones.
Drizzle...just enough to make them look even more inviting and pretty.

Be sure to place a cutting board or parchment paper under the cooling rack for this step...or your counter will become extremely sticky welcoming every ant in the neighborhood.

Then, finally, it's time to grab a cup of coffee and enjoy the scones of your labor!


